
In my past life as a clinical dietitian at Mount Sinai Hospital (only a couple of years ago), there was one thing all of us dietitian girls {and guy} looked forward to at the peak of the day- LUNCH. Each day was the same- I got to work, checked which patients had to be seen, actually went to see some patients, maybe go to patient rounds (this was optional in my mind, while lunch was not)… From the time I would arrive around 8:30 am, until 12 pm (the first minute that it was socially acceptable to mention the word), I waited for the beat to drop- “TIME FOR LUNCH?”. The answer was always the same- YES.
From the day I started, lunch became something for me to look forward to, a time to kick back and take a few minutes to talk hospital gossip with my girls {and boy}- and it got juicy at times, let me tell you… As for the lunch menu, it was whatever the hospital cafeteria was serving that day. On my way down to the cafe, I would wonder… would the salad bar offer the grilled tofu with the “black lines” or the “weird” tofu with dill, would the hot food station serve roasted sweet potatoes or just the fries- because g-d forbid that landed on my tray (I save that treat for dining at Westville only 🙂 ), would the “Kosher Corner” serve the “healthy” eggplant parm or just raggedy cold sandwiches? This is was my life. Forced with a decision to make everyday, I began to pick and choose ~4 foods {a carb food, a protein, a vegetable/fruit and a healthy fat source} sometimes utilizing areas hot and cold serve areas of the cafe to build this balanced, now calling it “acrobatic”, meal.
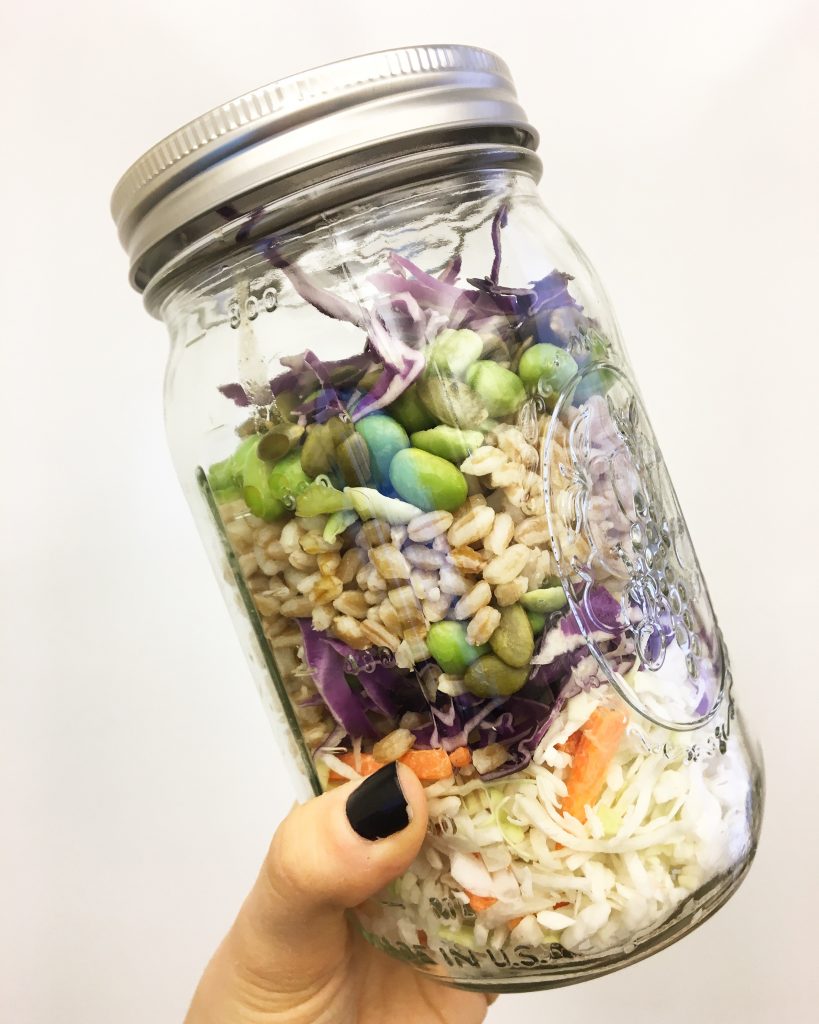
Now, when I meet with clients or teach group workshops on how to meal plan, I take a similar 4 food approach {sometimes 5, depending on how many “fat foods”} and share this acrobatic 4-Step Lunch Builder– which can also be used for dinner too. This meal builder {similar to the 2-Step Snack Builder} includes choosing one food from 4 different categories {carb, protein, vegetable/fruit and fat} to create a tasty and energizing meal! See below on how to make this Farro Salad in the same way…
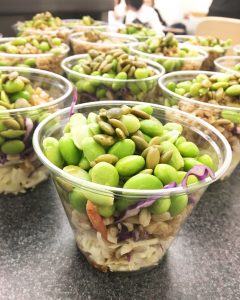
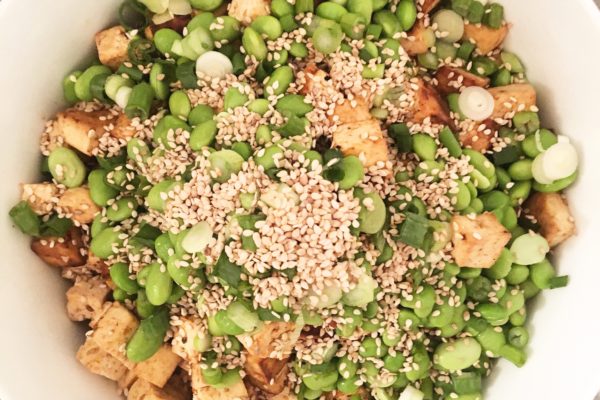
Here the carb is the farro, the vegetable is the cabbage {green and/or red, you choose}, the protein is the edamame {The Soy Debate anyone?} and the two fats are the seeds and dressing- BAM!

The Fav Farro Edamame Salad:
Prep time: 5 minutes {includes cooking farro} Total Time: 30 minutes Serving size: 4 {cook once, pack lunch x4}
Ingredients:
- 3 cups cooked farro {1/2 – 3/4 cup per salad}
- 4 cups shredded cole slaw mix {1 cup per salad}
- OPTIONAL: 2 cups shredded red cabbage {1/2 cup per salad}
- 2 cups thawed frozen edamame, run under warm water or thaw in refrigerator overnight {1/2 cup per salad}
- 1/2 cup pumpkin seeds {2 tablespoons per salad}
- 1/2 cup soy ginger dressing {2 tablespoons per salad}–
- Or make your own dressing: mix together 1/2 cup red wine vinegar + 1 1/2 tablespoons olive oil + 1 teaspoon honey + 1 teaspoon mustard + salt and pepper
Directions:
- Layer up all the ingredients in a jar, bowl or tupperware: cole slaw mix, red cabbage, edamame, pumpkin seeds, dressing.
- *Pro tip- if you are making lunch x 4 days- add the dressing the night before or the morning you plan to eat the salad to prevent excess “sogginess” {that is a culinary term..}

Warning: Parameter 2 to WC_Catalog_Restrictions_Query::posts_where() expected to be a reference, value given in /home/acroba6/public_html/wp-includes/class-wp-hook.php on line 298


Leave a Reply
Be the First to Comment!